


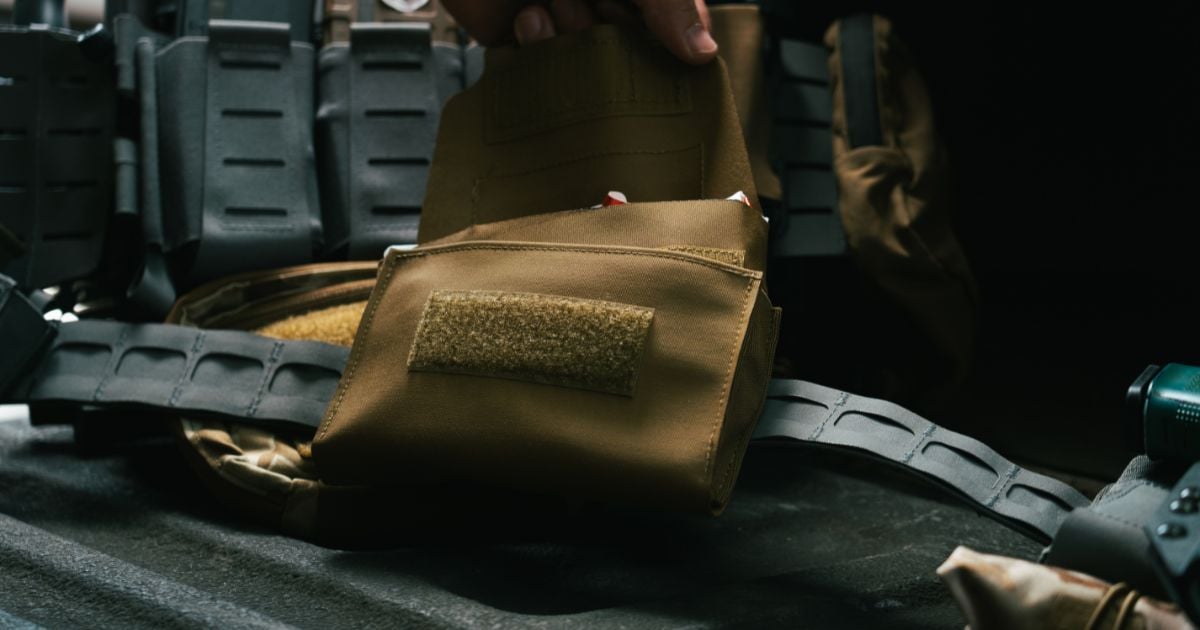
Re-Seating Your Med Pouch Insert
If your medical pouch insert doesn’t deploy the same way every time, the problem is usually how you put it back into the pouch.
You might notice small warning signs during training or gear checks. The insert may start to come out, but stop halfway. A side pull might feel like it catches or binds before releasing. Sometimes there’s unexpected resistance when you grab the handle. In other cases, the pouch may simply feel loose on the belt.
These issues can look like different problems, but they often share the same cause: The insert was not fully seated after the last use.
A partially seated insert changes how the pouch holds it, leading to inconsistent deployment. The insert may still look correct from the outside, and it may even feel secure during a quick check. But if it is not fully seated in the pouch, the retention system cannot work as designed.
Taking time to reseat the insert correctly restores retention and helps the pouch deploy like it should.
How to Re-Seat Your Medical Pouch Insert
Follow these steps to reset the med pouch insert the right way.
Step 1: Remove the insert completely.
Do not try to adjust the insert while it is partially installed. Small shifts inside the pouch rarely fix the problem and can actually make alignment worse.
Removing the insert completely gives you a clean starting point.
Step 2: Inspect hook-and-loop surfaces.
Debris or folded material reduces the hook-and-loop’s engagement and retention. So take a quick look at the surfaces on the insert and inside the pouch.
- Remove lint, dirt, or debris.
- Make sure it’s not folded over or rolled.
- Check that the contact surface is flat.
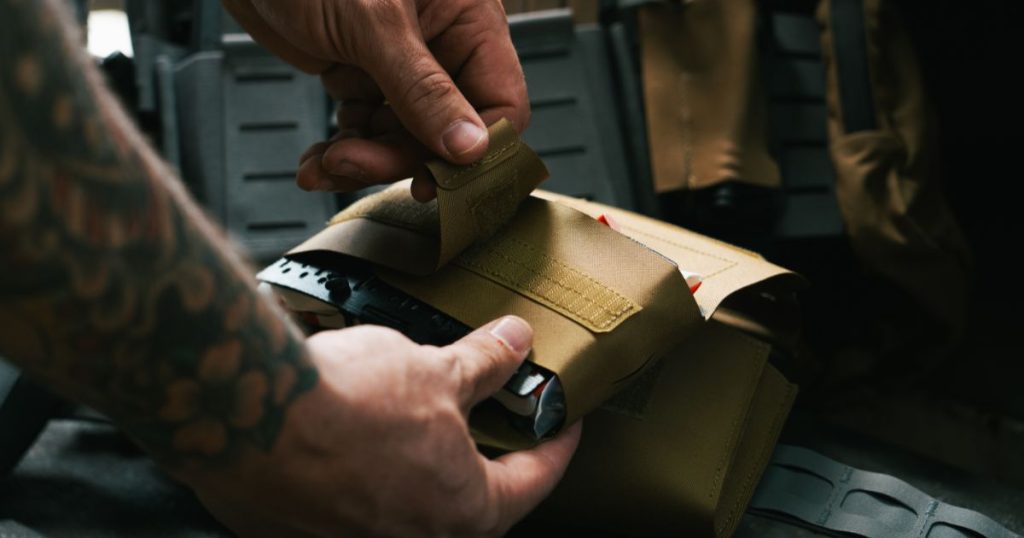
Step 3: Align the insert squarely.
The goal is straight alignment from the start. Avoid pushing the insert in at an angle or forcing one corner down first. An angled entry creates uneven pressure inside the pouch and reduces friction retention.
A straight, level entry keeps the insert aligned with the pouch walls.
Step 4: Press down for full contact.
Apply even pressure across the entire back panel. This helps the hook-and-loop fully engage and seat the insert correctly.
During this step, check for a few signs of proper seating:
- No visible Velcro.
- The insert sits flush inside the pouch.
- All corners are pressed down evenly.
If you see lifting or uneven edges, remove the insert and repeat the alignment step.
Step 5: Perform a controlled deployment test.
Grab the handle and pull with a steady, consistent force. The insert should release smoothly without hesitation, binding, or uneven movement.
This simple pull test confirms the medical pouch insert is seated correctly and ready for normal carry. For more hands-on practice, read Training Drills to Stress-Test Your Tourniquet and Med Pouch Setup.
Common Reseating Mistakes
Most issues with a medical pouch insert come from a few simple mistakes during reinstallation. Avoid these, and your pouch will deploy more consistently.
- Assuming friction will “settle” over time.
Friction retention depends on proper contact from the start. If the insert feels loose or uneven, it needs to be reseated.
- Sliding the insert in without full removal.
Trying to adjust the insert while it’s partially installed rarely fixes alignment. Pull it out completely and start fresh.
- Ignoring debris in the Velcro.
Dirt, lint, or loose fibers reduce hook-and-loop contact. A quick check keeps the retention working as intended.
- Seating the insert at an angle.
Pushing one corner in first creates uneven pressure inside the pouch. Always guide the insert in square and level.
- Forgetting to test before putting on your belt.
A quick pull test confirms everything is aligned. It takes seconds and prevents surprises later.
When It’s Not a Seating Issue
Most deployment problems come from how the medical pouch insert was seated. But in some cases, the issue comes from something else.
A few things affect how the pouch deploys:
- Worn hook-and-loop – Over time, hook-and-loop surfaces can lose grip. If it no longer holds well, the insert will shift even when seated correctly.
- Improper fill volume – If the insert is packed too loosely, it will move inside the pouch. If it is overpacked, the pouch creates extra resistance during deployment.
- Shock cord overtightened (side pull) – On side-pull setups, an overly tight shock cord increases tension on the pouch, making the insert harder to pull.
- Incorrect handle orientation – If the handles are positioned poorly, the pull angle causes drag or twisting during deployment.
These issues are less common than seating problems, but they’re worth checking if a proper reseat doesn’t fix the problem.
Check out How to Build a Compact, Fast-Access Medical Pouch for help packing your med pouch correctly.
Final Check: Seat It Right Every Time
Take a few extra seconds to fully remove, reseat, and test your setup before you wear it. That small habit keeps your pouch working the way it was designed to and gives you a more reliable deployment when it matters.
If you’re running a Blue Alpha med pouch setup or building one out, take a look at their options and configurations to dial in your setup.