


How to Build a Compact, Fast-Access Medical Pouch
A medical pouch only works if it’s packed with intention. Too much gear slows you down. Too little leaves gaps you can’t afford.
The goal isn’t to carry everything. It’s about carrying the right things and reaching them when it counts.
What Should Go in a Medical Pouch First?
A medical pouch is built around bleeding control and immediate trauma response. Everything else is secondary.
Start with:
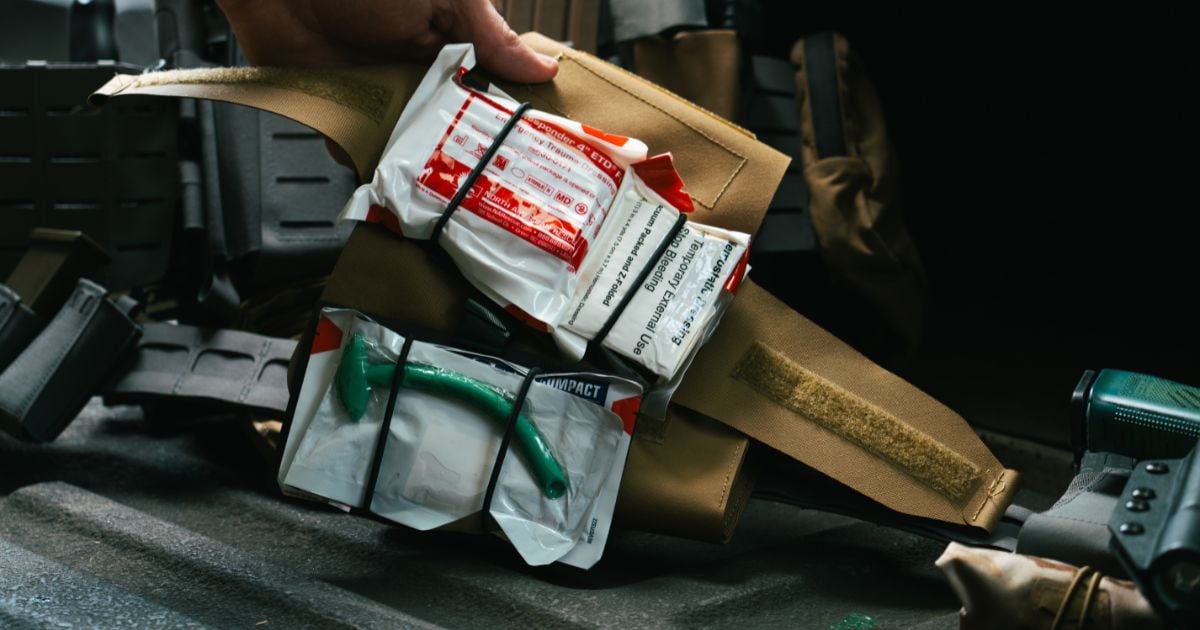
- Tourniquet: Your first tool you grab to stop or slow bleeding.
- Pressure bandage: Used to control heavy bleeding when a tourniquet isn’t enough or isn’t appropriate.
- Hemostatic gauze: Packs wounds where pressure alone won’t do the job.
- Chest seals (if applicable to your use): Relevant for users trained to carry and apply them.
If an item doesn’t help stop bleeding or manage immediate trauma, it probably doesn’t belong in your pouch.
Once you know what belongs, the next step is deciding how you want to access it.
Choosing a Packing Strategy: Speed or Space
Both of the following templates follow the same rule: pack with purpose. Choose speed or space, then build the pouch to support that goal, rather than fighting it.
Rapid-Access Setup (Speed-Focused)
This setup is built for instant, one-handed access when time matters most. It prioritizes visibility and grab-ability over compactness, keeping critical items easy to see and easier to pull under stress.
Packing Principles
- No stacking critical items. If you have to remove one item to reach another, it’s too slow.
- Most-used items are closest to the opening. Tourniquet access first, followed by pressure and packing tools.
- Minimal friction during deployment. Avoid tight elastic or overstuffing that slows your hands.
Example Layout
- External: Tourniquet
- Top layer: Pressure bandage
- Middle layer: Hemostatic gauze
- Back layer: Compressed gauze, chest seals
Best For
- Range use
- Training days
- Duty or other high-stress environments
This approach transforms your pouch into a fast, purpose-built trauma kit, rather than a storage pocket.
Compact Setup (Space-Focused)
This setup sacrifices some speed for a smaller, cleaner footprint. It’s designed to maximize capacity while keeping the pouch slim and controlled, making it ideal when belt space is limited.
Packing Principles
- Use a layered layout. Items are stacked intentionally, not stuffed.
- Flat-pack components where possible. Reduce bulk without sacrificing function.
- Make efficient use of internal space. Every item should have a clear purpose and a defined place.
Example Layout
- External: Tourniquet
- Front stack: Flat-packed pressure bandage
- Middle stack: Gauze (compressed or vacuum-sealed)
- Back wall: Chest seals, gloves
Best For
- Belt-mounted setups
- Hiking or outdoor use
- Backup or secondary kits
This configuration works well as a compact medical pouch or medical supply organizer when a low profile is more important than instant access.
Smart Ways to Save Space Without Slowing Access
Saving space matters, but not at the expense of access. The goal is to reduce bulk without making critical items harder to reach or identify under stress. That starts with knowing what should stay untouched and what you can safely modify.
Items That Should Stay Factory-Sealed (No Matter Your Setup)
Some items are designed to stay sealed until the moment you use them. Don’t mess with these.
Keep Factory-Sealed
- Sterile gauze
- Chest seals
- Certain bandages (designed for trauma care)
Why This Matters
- Sterility – These items are meant to be clean and ready straight from the package.
- Reliability – Factory packaging protects materials and adhesive performance.
- Clear labeling under stress – Original labels make it easier to identify the right item quickly.
If an item relies on sterility or adhesive integrity, leave it alone.
When Repackaging Makes Sense
Repackaging isn’t about cutting corners. It’s about improving efficiency and layout while maintaining reliability.
When done intentionally, repackaging helps your pouch function more like a clean, predictable first aid organizer, rather than a loose collection of supplies.
These items are safe to repackage:
- Gloves
- Compression wraps
- Non-sterile accessories
Repackaging these helps reduce bulk and improve layout, especially in a tight pouch.
The Vacuum-Seal Tip
Vacuum sealing is most effective when your goal is space efficiency, not lightning-fast access. It can reduce bulk, but sealing the wrong items can slow you down.
It’s best used for:
- Compact setups where every inch of space matters
- Backup kits that are there “just in case,” not for immediate deployment
Avoid it for:
- Items you need to tear open instantly
- Anything you’d want to access with one hand under stress
How to Choose the Right Packing Style for You
There isn’t one “correct” way to pack a medical pouch. The right setup is the one that matches how you actually use it.
Start by asking a few simple questions:
- What’s the intended use? Range time, duty use, and outdoor activities all create different demands. High-stress environments usually favor speed. Lower-profile or extended carry often favors space.
- Do you value access speed or space more? Fast, one-handed access points you toward a speed-focused layout. Limited real estate points you toward a compact setup.
- Where will it be mounted? Belt-mounted pouches need to stay slim and predictable. Pack or vehicle-mounted kits can afford a little more depth and layering.
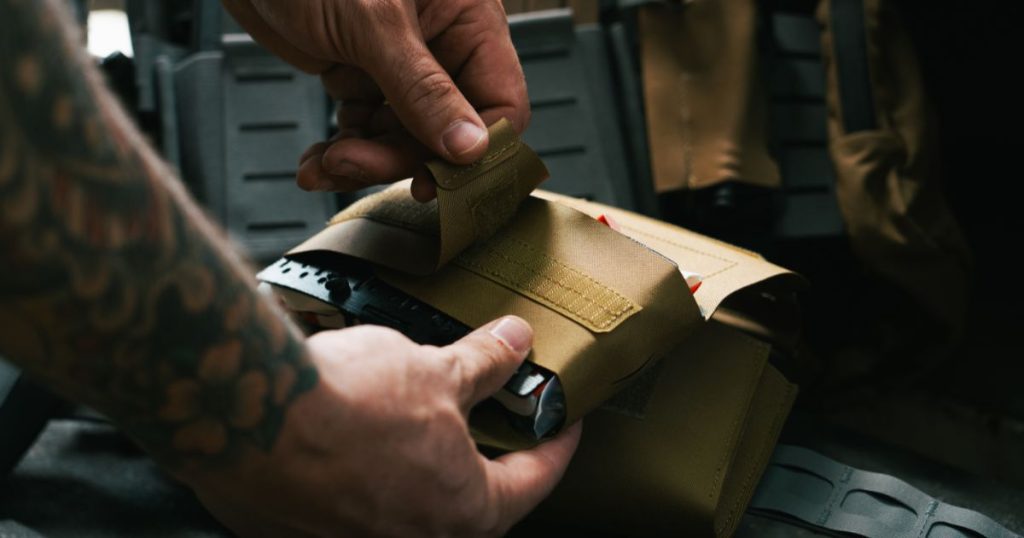
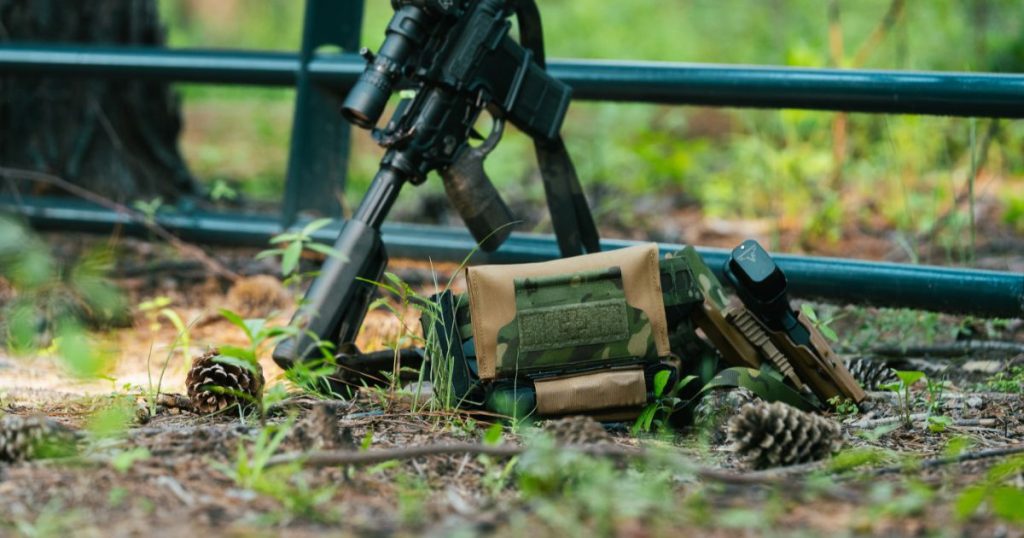
The Blue Alpha Medical Pouch: Built for Both Speed and Compact Carry
The Blue Alpha Medical Pouch is designed to solve a common problem: how to carry essential trauma supplies without bulky gear or slow access.
Instead of forcing a single packing style, the pouch is built as a flexible platform that supports both rapid-access and compact setups.
At the core of the pouch is a removable insert system:
- Inner insert holds medical supplies in a controlled, organized layout.
- Outer compartment secures the insert and supports fast tear-away access, while still allowing the fully enclosed insert to be removed for use in a vehicle or pack.
This design keeps items staged and visible while still allowing you to slim things down when space is limited.
Features that work with both speed-focused and compact setups:
- Configurable pull orientation* – The pouch is available in both a top/bottom pull version and a side pull version, allowing users to choose the access style that best fits their belt setup and movement.
- Multi-panel interior – Helps separate items cleanly and reduce wasted space.
- Included bungee, plates, and NCD slot – Allows customized retention without forcing a single layout.
- Hook-and-loop attachment included – MOLLE straps can be added if needed for alternate mounting.
(*Depending on the pull style, your tourniquet may deploy with the insert or remain staged on the mount, but in both cases, it stays immediately accessible.)
There’s also an optional Medical Components Kit (which includes core trauma items) and an optional Blue Alpha Tourniquet Holder, providing a ready-to-pack starting point while still allowing you to adjust the layout.
The result is a pouch that stays compact on your belt but opens predictably when accessed.
How the Pouch Works With Speed and Compact Setups
- Speed-focused setup: The tear-away design, configurable pull direction, and clear internal layout support quick, one-handed access without digging or dumping gear.
- Space-focused setup: The structured insert and multi-panel layout make it easier to flat-pack and layer items, keeping the pouch slim and controlled for belt-mounted or secondary kits.
Internal organization choices (such as running a single plate versus a dual plate setup) can further shift the balance between compactness and internal organization.
So whether you prioritize speed, space, or a balance of both, the Blue Alpha Medical Pouch is built to support your layout, not fight it.
Pack With Purpose, Not Just Gear
A medical pouch works best when it’s packed on purpose, not by habit. Pack with intent, stage your gear thoughtfully, and make sure your setup works for you before you ever need it.